How can we help?
-
Canon
-
Sharp
-
Konica Minolta
-
HP
-
Xerox
-
Brother
-
Client Onboarding
-
NSight
- Articles coming soon
< All Topics
Print
How to Setup an Email Account For Your Xerox Copier
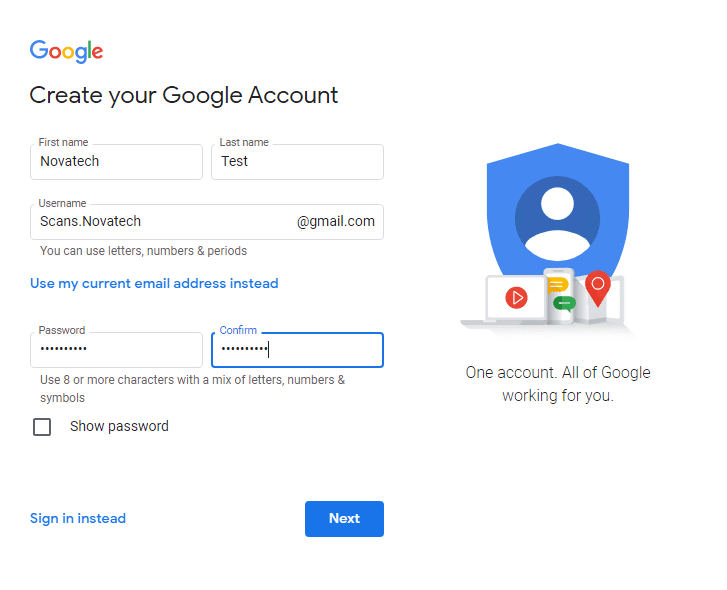
1. Go to the Google account creation page.
2. Fill out your information and then click “Next”.
3. Fill out the second page and be sure to use a cell phone number for the first field.

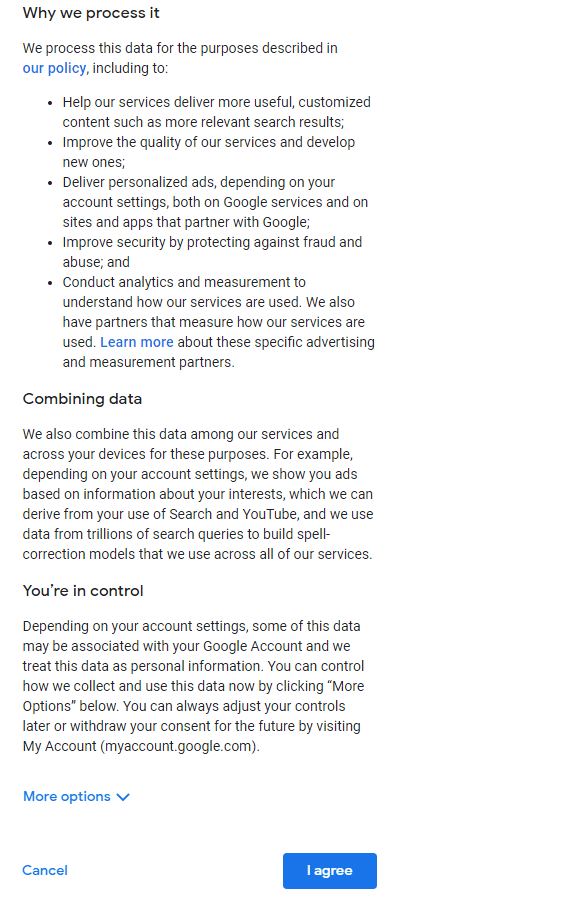
4. Scroll to the bottom of the screen and click “I agree”.
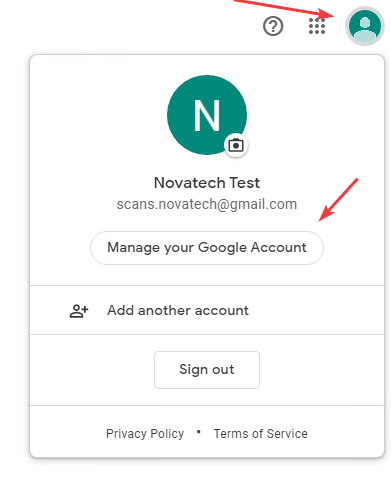
5. Click the color circle in the top right with the letter and click “Manage your Google Account”.
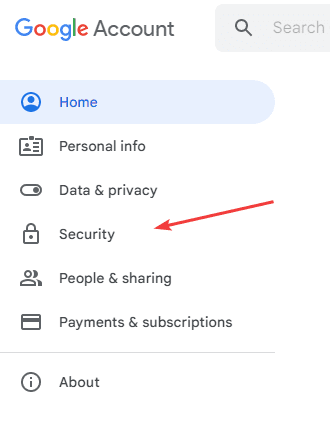
6. Click “Security” in the left column.
7. Under “Signing in to Google” click “2-Step Verification”.

8. Click “GET STARTED”.
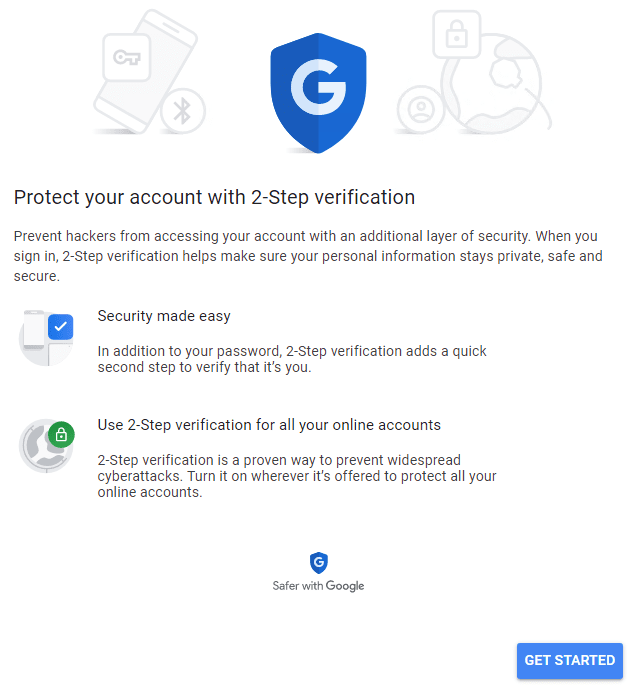
9. Log into the Gmail account.

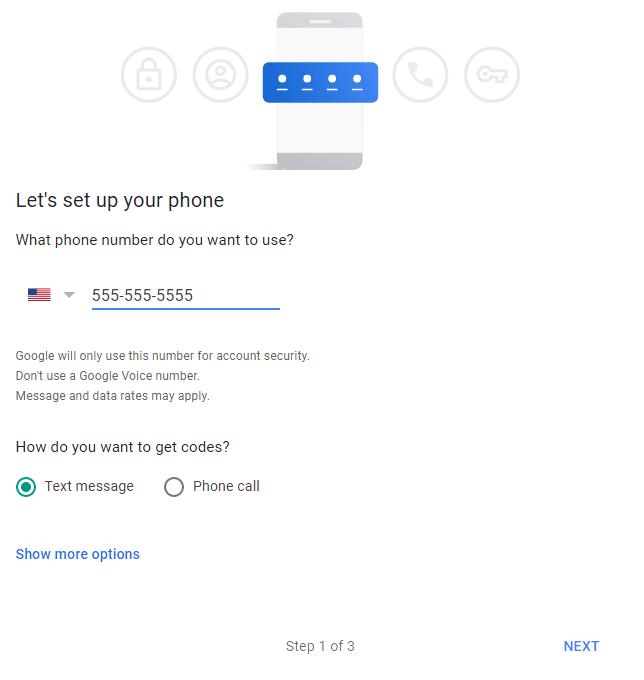
10. The phone number field should already be populated with the number you put in earlier if not type in a cell phone number and click “Next”.
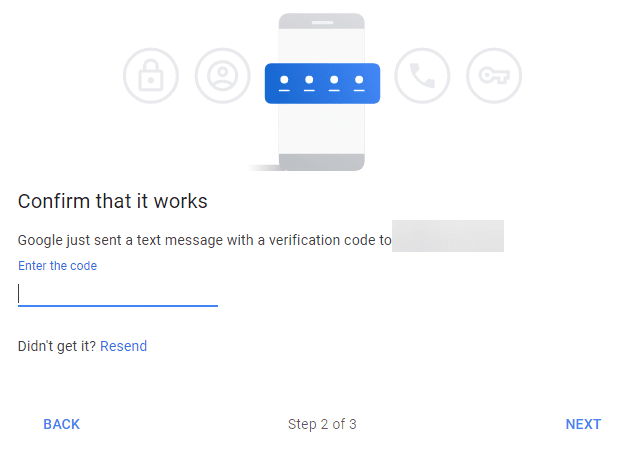
11. Type the code you got from Google and click “Next”.
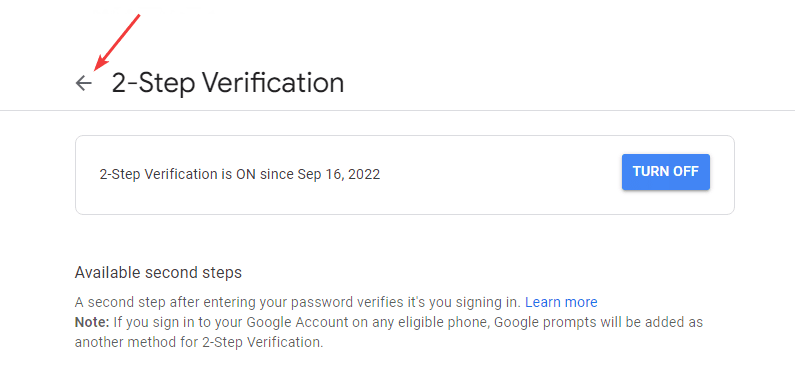
12. Click “Turn On”.
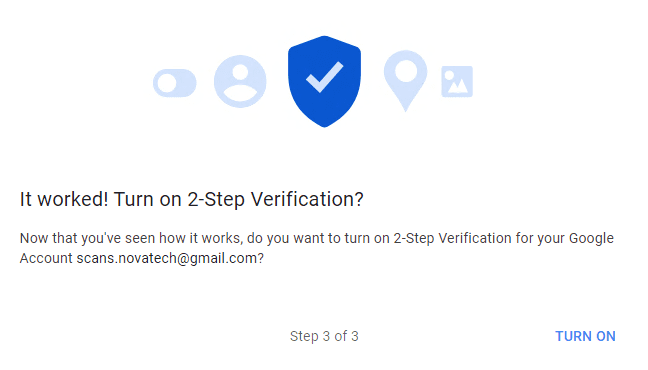
13. Click the back arrow.
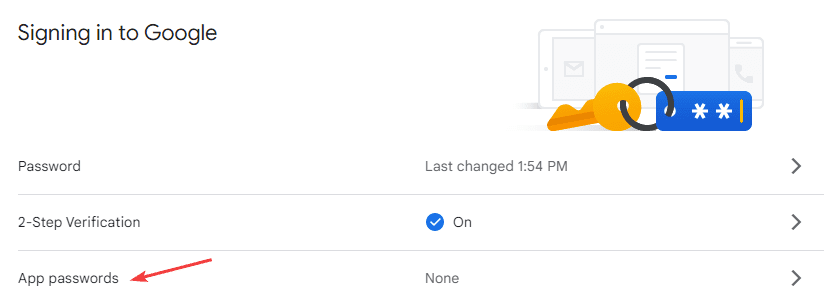
14. Scroll down to the “Signing in to Google” section and click “App passwords”.
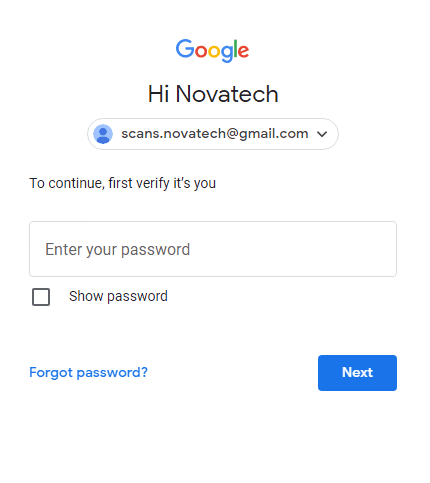
15. Sign into the account again.
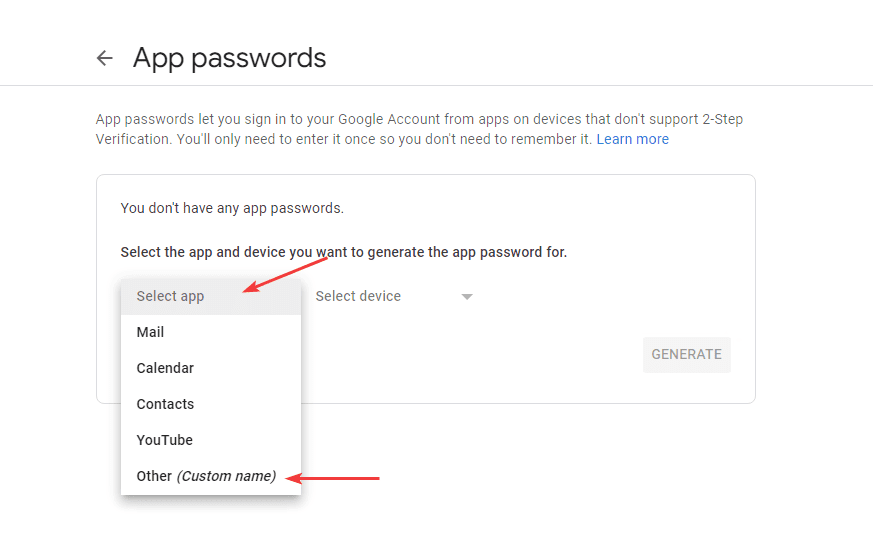
16. Click the “Select app”, drop-down, and choose “Other”
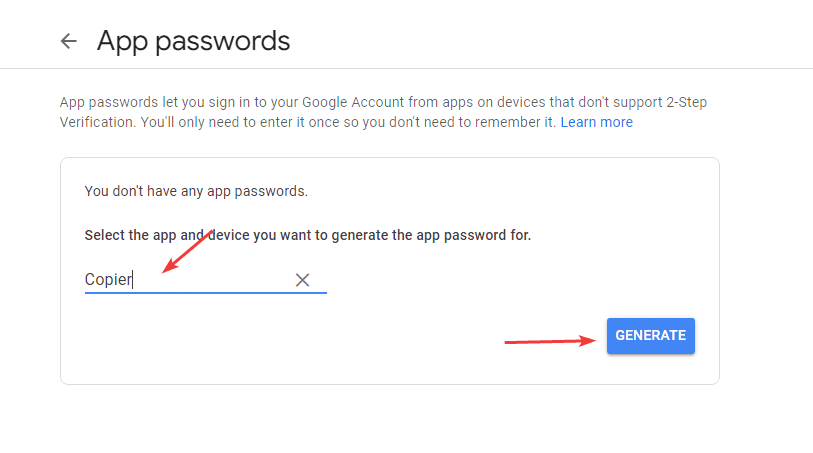
17. Type “Copier” into the field and then click “Generate”.
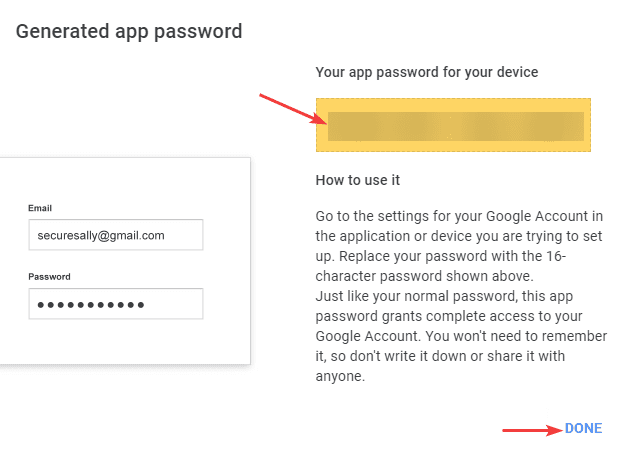
18. Copy down the “Generated app password” in the yellow box and then click “DONE”
18a. If you click “Done” before you have written down the app password you will have to create a new one. There is no way to recover it after you click done.
19. Click the back arrow, then close out the tab you are on.
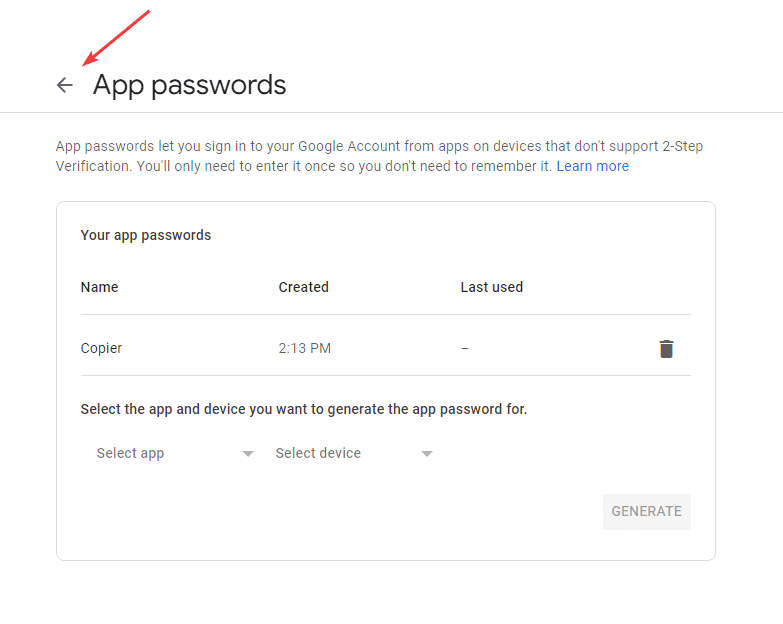
Table of Contents