How can we help?
-
Canon
-
Sharp
-
Konica Minolta
-
HP
-
Xerox
-
Brother
-
Client Onboarding
-
NSight
- Articles coming soon
< All Topics
Print
How to Setup Scan to Email on Sharp
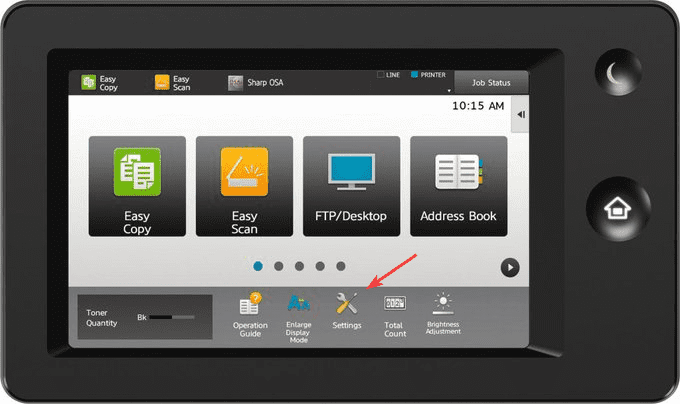
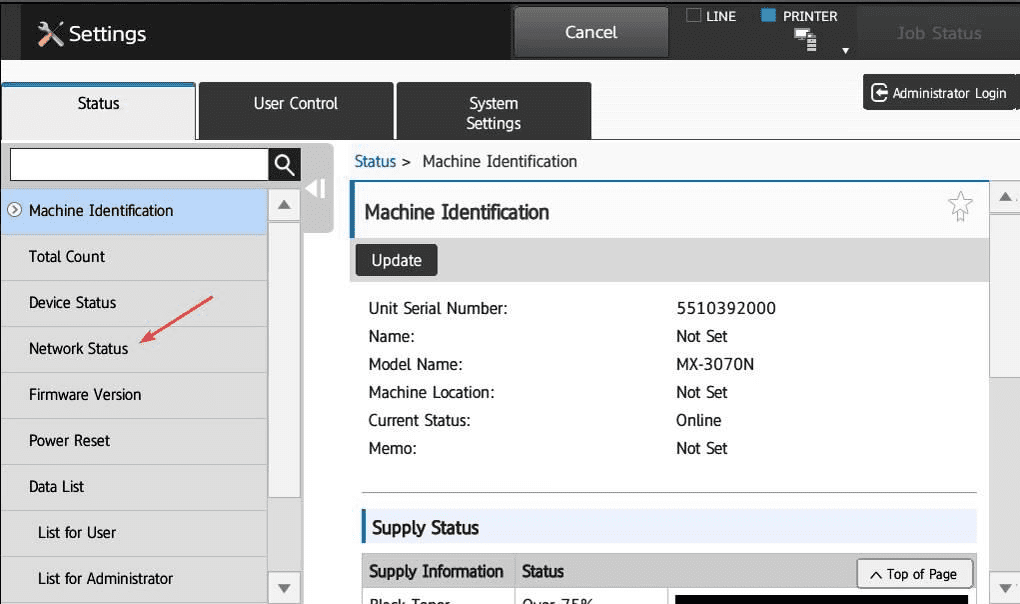
1. Start by finding the IP address of the copier. You can press the “Settings” button on the main screen and then “Network Status” to find it.


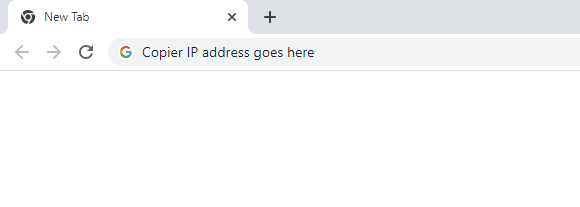
2. Once you have the IP address go to your computer, open your web browser and type in the IP address into the address bar at the top, and press enter.

3. In the top right of the page click the “Login” option. Make sure the “Login Name” is set to “Administrator” and then input the password for the copier. The default password is admin. If this password doesn’t work you might need to check with your administrator or IT department to see if it has been changed.


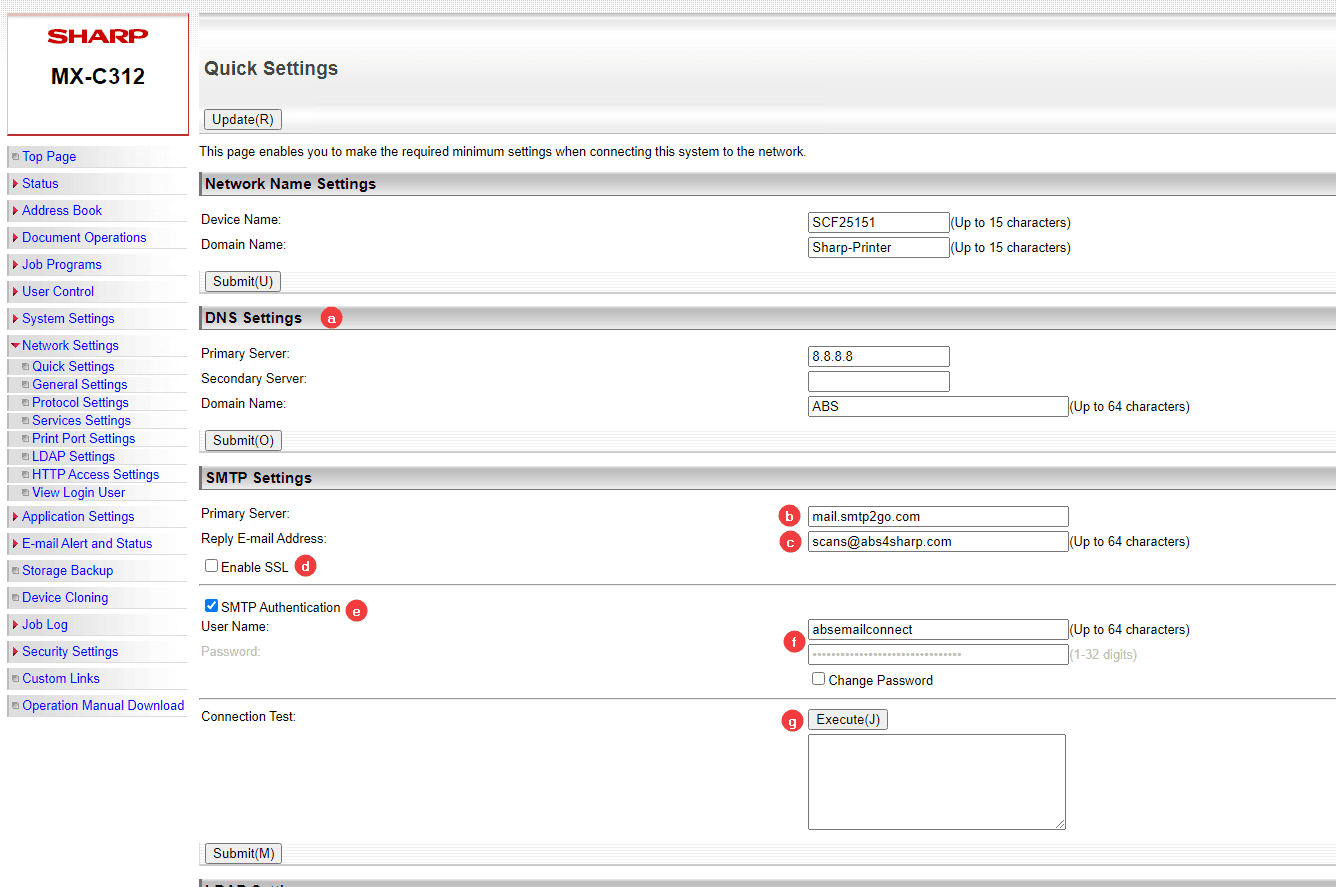
4. Press the “Network Settings” option in the left column. From here follow the steps below to fill in the right information and then test the connection. Included below is a chart with email settings for common SMTP servers. If your information isn’t listed or you don’t know it you may need to reach out to your IT dept for further assistance.

4a. Make sure you have your DNS server IP address in the “Primary” and “Secondary” server sections. If you don’t know what your DNS is you can use 8.8.8.8 for the primary and 8.8.4.4 for the secondary.
4b. For “Primary Server” type in the SMTP server name of the email service you use.
4c. The “Reply” email will be the email address listed on the received emails from the copier.
4d. If your server requires it check the “Enable SSL” box.
4e. If your server requires authentication then you will need to check this box.
4f. Type in the username and password for the server or the email address and password.
4g. Once you have input the information above you can press the “Execute” button to test your settings and make sure they work.

5. Once you have filled out the correct information and tested your settings click “Submit” to finalize the setup of scan to email.
Table of Contents